How to Install: Eclipse
Rose-Hulman Institute of Technology –
Computer Science & Software Engineering
Overview
Follow these instructions to install Eclipse version 3.7/Indigo.
Note: in 2006 through 2010, new RHIT laptops came with an
older version—Eclipse 3.1, 3.2, 3.4, 3.5, or 3.6 —installed in C:\Program
Files, so you should uninstall the
existing version (following the instructions
below) before you install the current one. This is not
necessary on 2011 laptops which come with 3.7.
-
Eclipse is a free, open-source IDE (Integrated Development Environment) for Java
-
Anyone can download from the
Eclipse site, but we suggest that you use the local copy
described below.
Your computer should have a working Java Runtime Environment (JRE) v6 to run Eclipse.
If you do not already have it,
follow the instructions for installing Java 6 before installing Eclipse.
Before Installing:
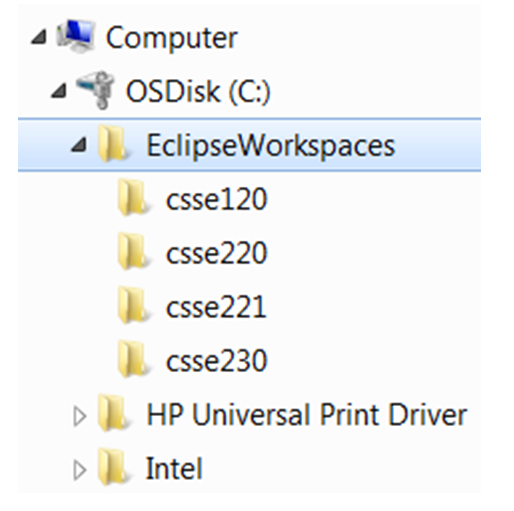
a) Create a folder C:\EclipseWorkspaces.
b) Create subfolders csse120, csse220,
csse221, and csse230.
IAIT created all of these in the 2011 laptops. If you are reinstalling, you can just make the folder for your course.
Installing Eclipse
Follow
all
of the following steps to install and configure Eclipse on Windows:
-
Download and Install Eclipse
-
Login to your administrative user account (probably localmgr unless you have changed your user settings).
-
You may also want to open a "Windows Explorer" window.
-
If you have a prior
version of Eclipse, uninstall your
existing version(s). With Eclipse this
just involves deleting the
application's folder from
C:\Program Files .
- Download and unzip
this file
for Eclipse 3.7/Indigo for Windows 32-bit (you can get the
64-bit version from the
Eclipse site), and place the
eclipse folder directly in the
C:\Program Files\
folder.
If
at any point it says 'cannot be done', just unzip to
a random folder in My Documents, then drag-and-drop
to the correct folder in C:\Program Files.
Should you be asked to trust the software, indicate that it should be allowed to run.
-
When you open Eclipse for the first time, set the workspace by:
- Open Eclipse
- You should see the Select a workspace
dialog. Do NOT press 'ok' yet. Instead, hit
Browse.
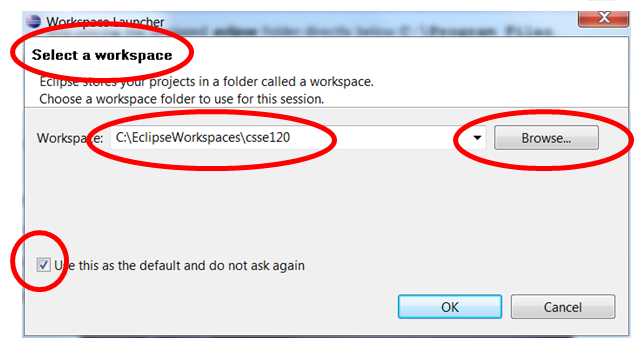
- In the Select Workspace Directory that opens,
select the C:\EclipseWorkspaces\csse120
folder.

- Press 'ok' to bring you back to the
Select a workspace dialog.
- Check the box labeled "Use this as the
default and do not ask again." Then
press 'ok' again to continue into Eclipse.
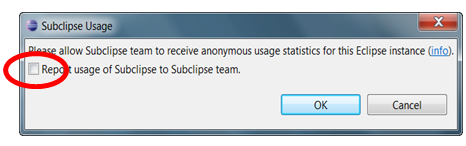
- If at any point the Subclipse Usage dialog
appears, uncheck the box, and hit 'ok'.
Students presently taking a CSSE course may wish to add an
Eclipse shortcut to the Start menu.
-
Add an Eclipse Shortcut
- Open the folder
C:\Program Files\eclipse.
- Right click on the
Eclipse application
(
eclipse.exe, with the little purple circle
icon next to it) file icon and select Pin to Start Menu.
This creates a new shortcut in the start menu which you can now go to open Eclipse.
- Other options are available such as
Pin to Taskbar and
Create Shortcut.
Any of these options will work.
-
Install Subclipse.
Follow this link for the directions to install Subclipse:
Subclipse
-
Configuring Eclipse
- Follow the appropriate link to configure Eclipse for
Python,
C, or
Java.
Note: The Java preferences for
CSSE 120, 220, 221, and 230 are
linked from the Java configuration
page.