Launch Eclipse
-
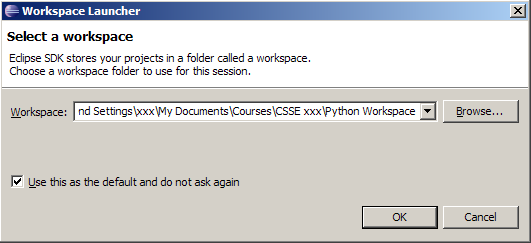
Launch Eclipse. A screen like this should appear, where you can choose which workspace to open. (If not, go to
File → Switch Workspace → Other) - Screenshots read 'Python 3.1', which is the old version. You will be installing Python 3.2.
Browse the csse120 folder which you created when installing Eclipse. Select "Use this as the default and do not ask again".
-
If you do, Eclipse will automatically use this workspace next time you open Eclipse. If you want to change the workspace later you can always go to File → Switch Workspace... to be sent back to the Workspace Launcher window.
-
-
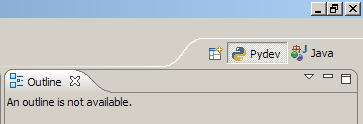
You should now see Eclipse's Welcome screen:
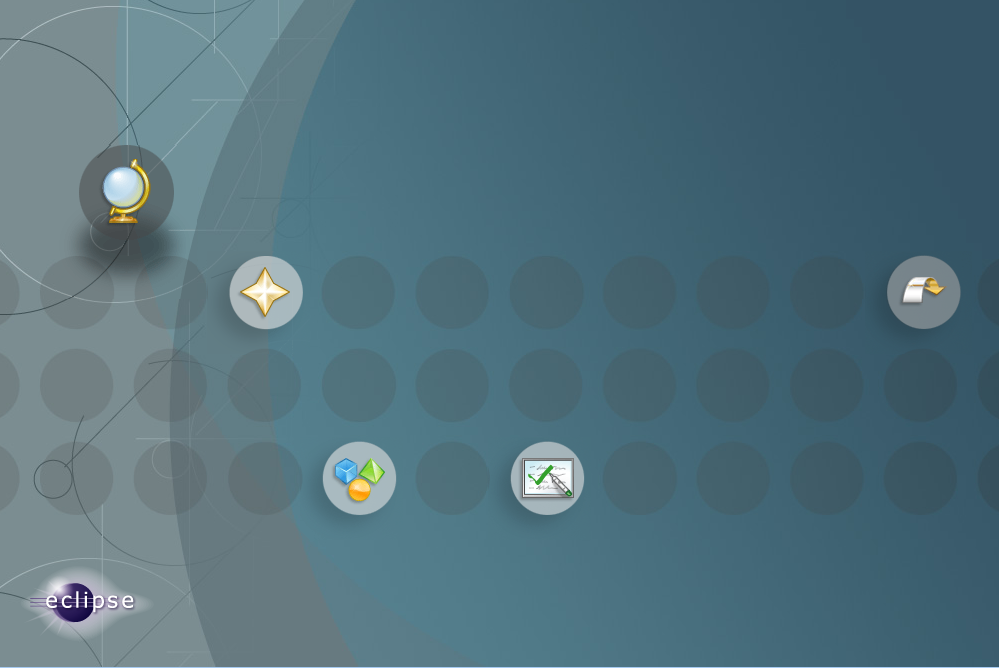
Click on the arrow on the right to go to the workbench.
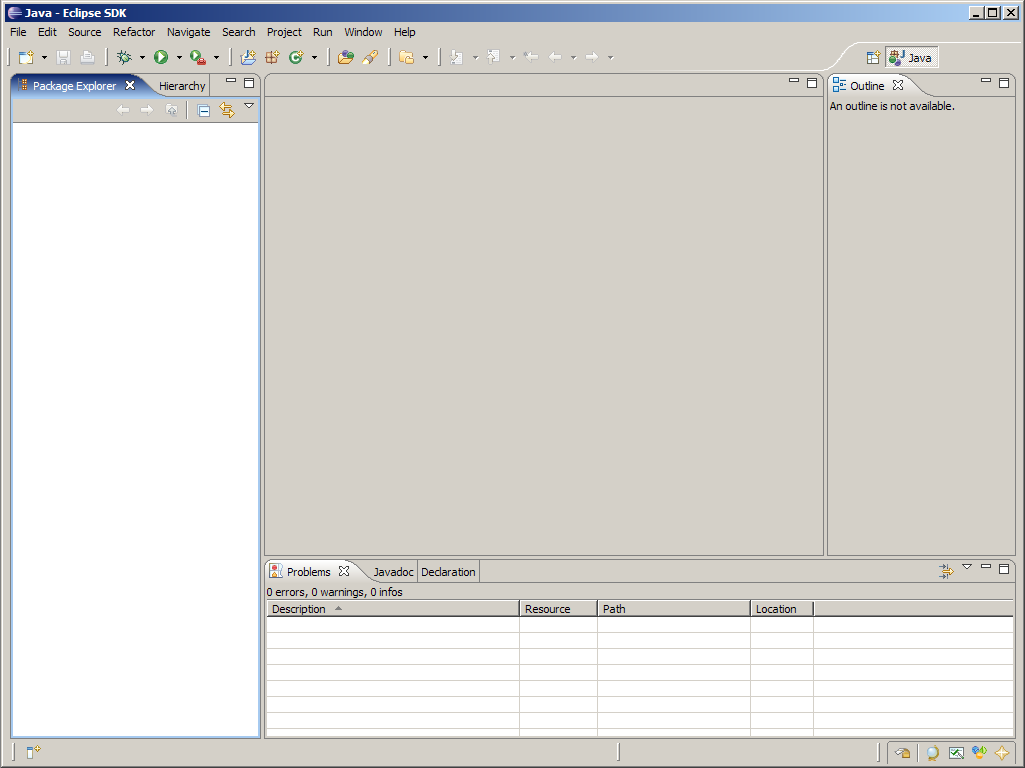
This is where you'll do most of your work in Eclipse.
Download PyDev from within Eclipse
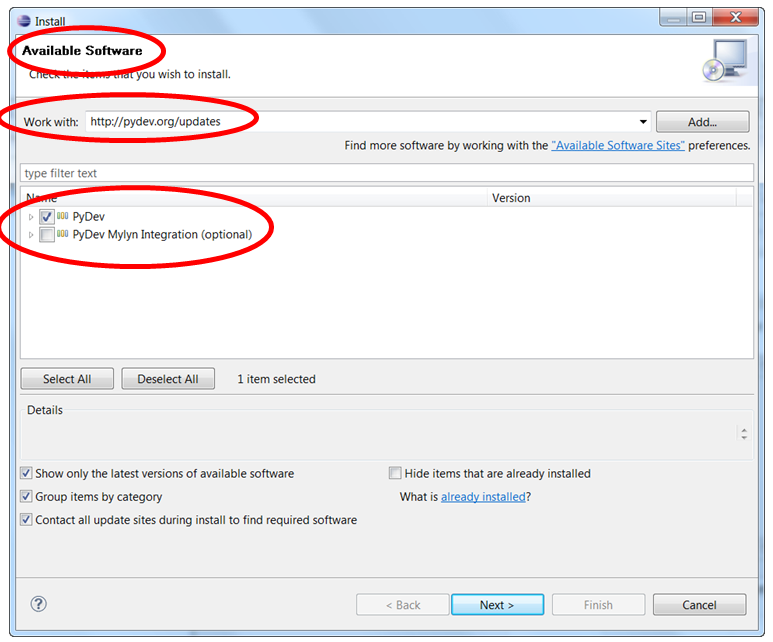
- Go to Help → Install New Software
-
Enter http://pydev.org/updates in the Work with: field.
-
After several seconds, two options should appear. Select the PyDev for Eclipse option. Do not select the "PyDev Mylyn Integration" flag.
- Click "Next" and "OK" to continue installing PyDev.
- Select "I accept the terms of the license agreement", then click "Finish". The installer will begin to download the plug-in.
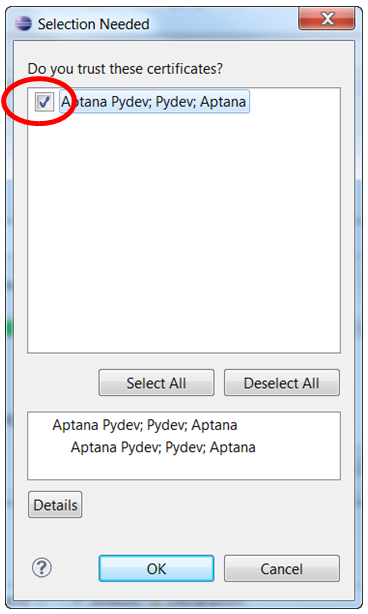
- Note: When you see the Selection Needed dialog box, you must manually check the box before pressing okay. If you do not, it appears that the installation is continuing, but it is not. You must uninstall PyDev, then reinstall.
- A security warning may appear asking whether you trust the software being installed- click "ok", then ensure the correct items are selected and click yes. The instillation process will continue.
- When the installation is complete, you will be asked if you want to restart Eclipse. Select "Yes". You may see a Subclipse Usage dialog, just uncheck the box and continue.

Configure PyDev
- Python must be installed to configure PyDev.
-
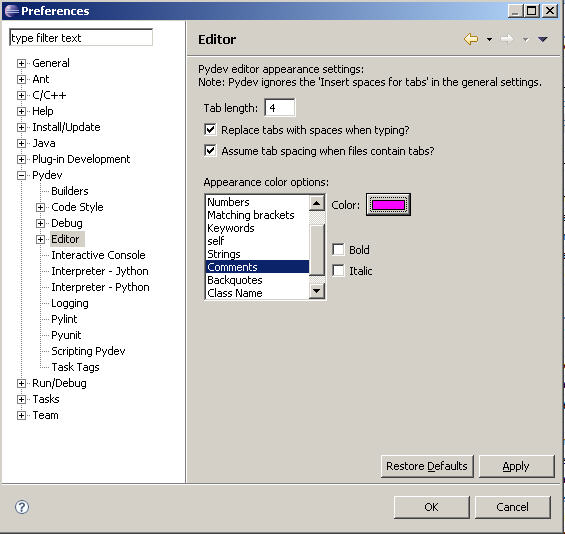
Go to Window → Preferences. In the Preferences window, expand PyDev and select Interpreter-Python.
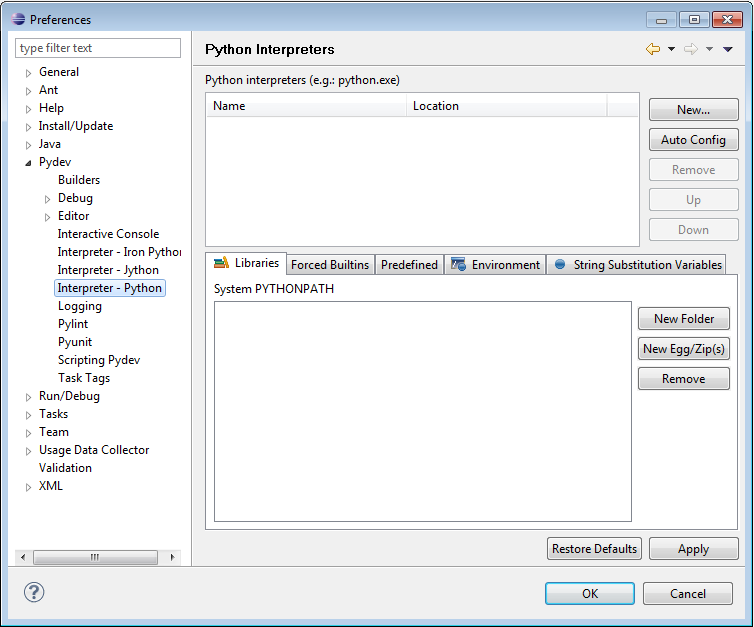
-
Click "New..." and type Python32 for the Interpreter name. For the Interpreter executable, browse to your copy of Python (C:\Program Files\Python32\python.exe), and press Open.
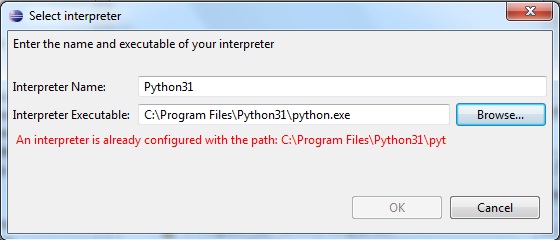
Click "OK" and the Selection Needed Window will appear.
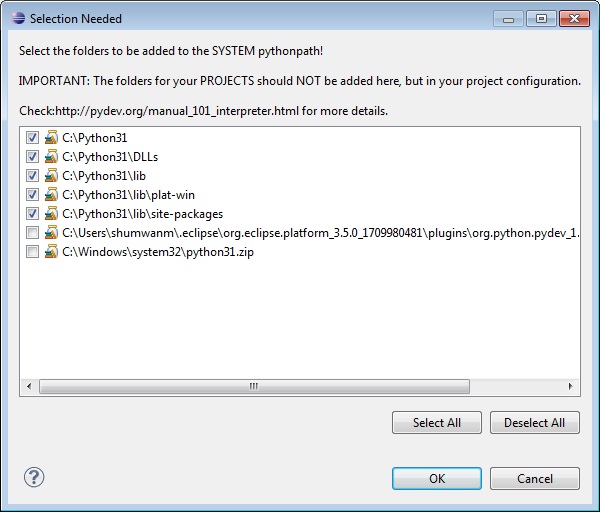
- Select all but the PySrc and python32.zip and click OK as many times as necessary to exit the preferences. The default selection should be fine.
- The Interpreter is now set up so that the code you write can be interpreted for the computer to run. You are now ready to start running code.