How to Install the Create Simulator
Rose-Hulman Institute of Technology -
Computer Science & Software Engineering
Overview
The simulator works in the place of a Create robot when developing Python code using the pycreate library.
It is loosely integrated with Eclipse, but can be used standalone in other environments.
Make sure all required software is installed
-
Python 3.2
The 2011-2012 and later freshmen laptops came with Python 3.2.
-
If you need to install it, follow
these instructions.
-
pycreate
The 2011-2012 and later freshmen laptops came with the pycreate library.
-
If you need to install it, follow
these instructions.
Eclipse 3.6
The 2011-2012 and later freshmen laptops came with Eclipse 3.6.
-
If you need to install it, follow
these instructions.
Install and configure the simulator
The simulator installation is broken in a couple of places, but there is an easy workaround, as follows:
- Make a copy of the create.py file that is probably at:
C:\Program Files\Python31\Lib\site-packages\create.py
- Follow this
link
to download the local installer for the Create simulator. Run it. The
default settings should be fine for most students except:
- You probably want to change the choice to Everyone
instead of Just me in the Select Installation Folder dialog.
- In the Optional Components dialog, CHECK Eclipse plugin
and UN-CHECK pycreate.py.
The installer will update
DirectX if needed as part of the installation process.
-
Replace the create.py file that is probably at:
C:\Program Files\Python31\Lib\site-packages\create.py
with the copy that you made of it. (If you were careful about UN-checking create.py
during the installation, this step is not necessary, but if you got the check's wrong, the installer overwrites
the create.py file with an older, wrong version of it, so you need to restore it via the copy that you made in a previous step.)
- Go to the installation folder of the simulator, which is:
C:\Program Files\iRobot Create Simulator\Roomba Simulator.exe
unless you changed the installation folder during installation.
-
In that folder, create a new folder named:
CurrentEnvironment
spelled exactly like that (including capitalization, no spaces).
-
If you are not an Administrator when you run Eclipse,
you will need to give Full Rights to that folder to the Users group.
(Ask someone for help with this as needed.)
-
Find the ZIP file:
C:\Program Files\iRobot Create Simulator\Resources\Environments\Default.zip
It has two files zipped inside it: environment.xml and floor.png.
Extract those two files and put them into the CurrentEnvironment folder that you created in a previous step.
-
Open Eclipse. Choose
Window > Preferences > iRobot Create Simulator
Select the Browse button
and browse to the simulator itself,
which is:
C:\Program Files\iRobot Create Simulator\Roomba Simulator.exe
unless you changed the installation folder during installation. Press Open to select
that file, then OK to exit the Preferences dialog.
-
Still in Eclipse, you should notice a new icon at the top next to the print icon:
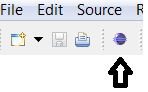 .
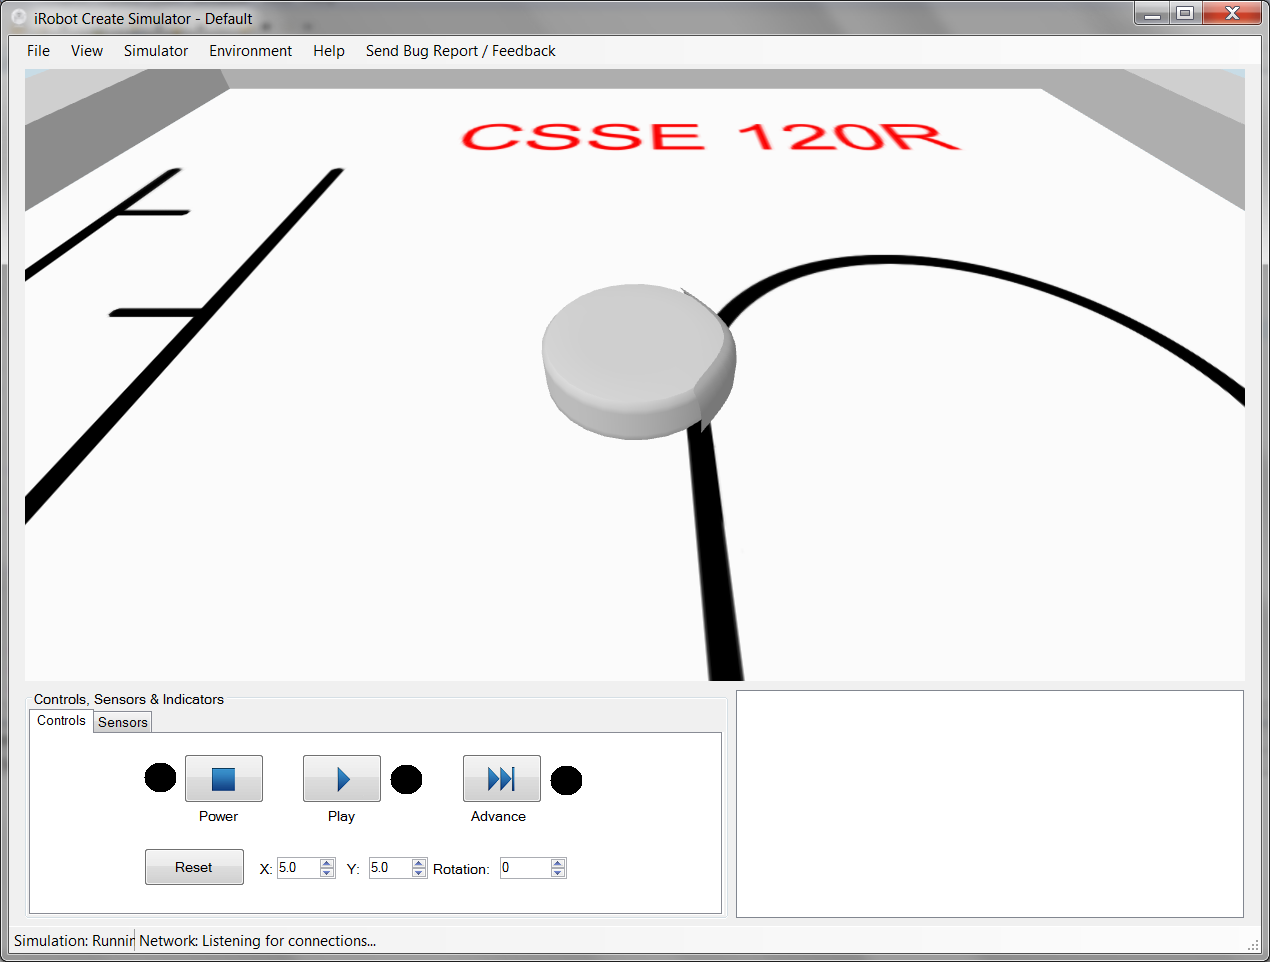
Click it. The simulator should open, ready to run a program.
It looks like this:
.
Click it. The simulator should open, ready to run a program.
It looks like this:
Verify your installation
-
In Eclipse, click the icon to start the simulator (if you have not already done so). The simulator should start.
- Write a small program in Eclipse that drives the robot forward, like this (you can copy-and-paste):
import create
import time
robot = create.Create('sim')
robot.go(10, 0)
time.sleep(20)
robot.stop()
-
If you see the robot driving forward in the simulator, the installation was successful.