Sharing your WiFi connection with a Pi
This tutorial will show you how to share your WiFi internet connection with your Raspberry Pi using windows 7, Mac OS X, or Ubuntu Linux.
This assumes: 1. You have a Raspberry Pi with Raspbian 2. You have an ethernet port on your computer
The screenshots show a Lenovo ThinkPad W541 and Windows 7.
Set up Internet Sharing
On Windows 7
You need to set up a small local network so your computer can talk to the Pi and so that the Pi can access the Internet. Be sure to do all this before you turn on your Pi.
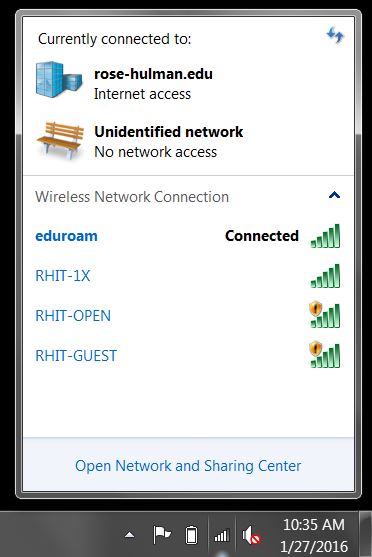
- Open "Network and Sharing Center" via the wifi system tray icon.
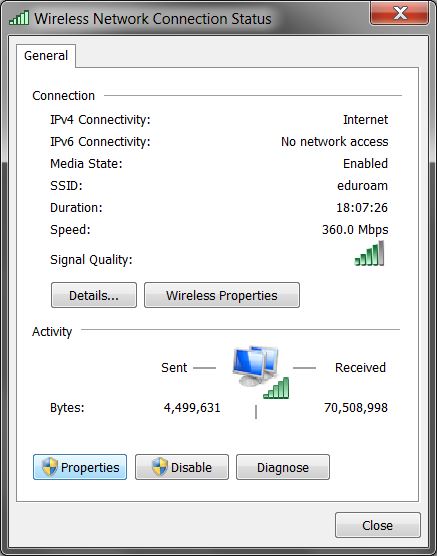
- Select "Wireless Network Connection" to configure.

- Select "Properties", and authenticate as an Administrator.
- Uncheck the box next to "Internet Protocol Version 6 (TCP/IPv6)
- Select the "Sharing" tab, and check the box to allow other network users to connect through your Internet connection.
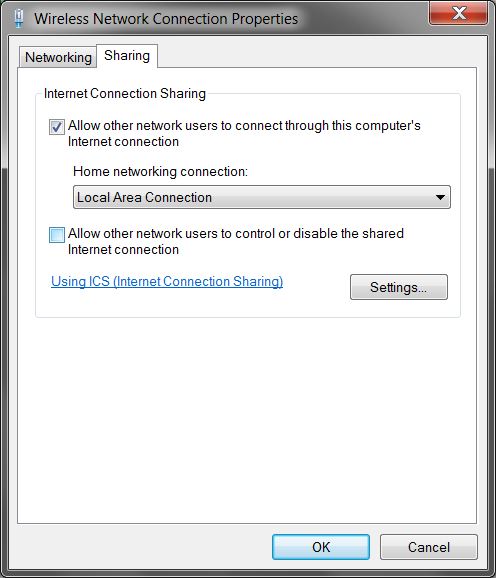
- Be sure "Local Area Connection" is selected from the "Home networking connection" drop-down box (if that drop-down exists).
- Click "OK" buttons until all the network configuration windows are gone.
When you shut your Pi down, you will want to disable Internet sharing. Sometimes Windows Networking stops working properly when you don't disable it.
To disable Internet Sharing on Windows, you only have to reverse step 5 above (uncheck the box to allow other network users to connect).
On Mac OS X
Go to System preferences > Sharing > Internet sharing. Share your wireless connection to your ethernet.
On Ubuntu 14.04
Go to System Settings > Network > Wireless > little arrow by your connected network > Settings > IPv4 Settings > Method: Shared to other computers
Connect your Pi
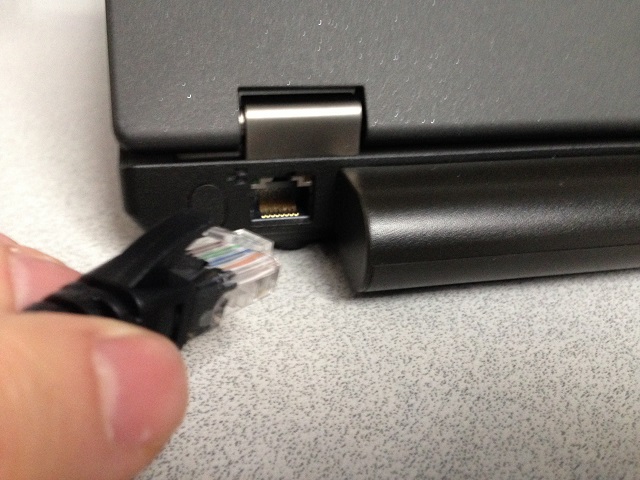
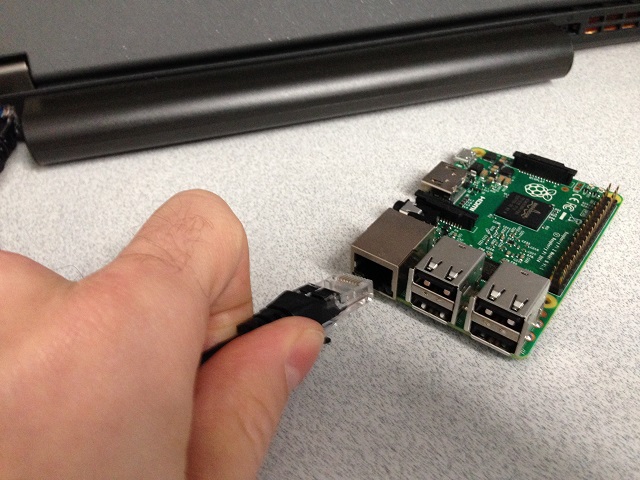
- Connect your Ethernet cable to your laptop and the Pi.
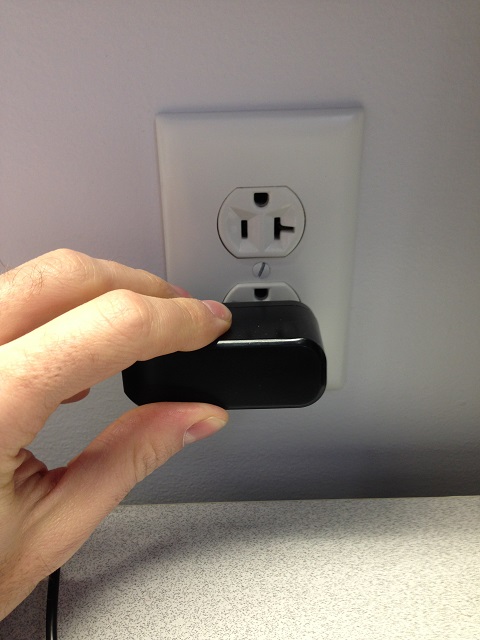
- Plug the AC adapter into a power outlet and into the Pi.
 ->
-> 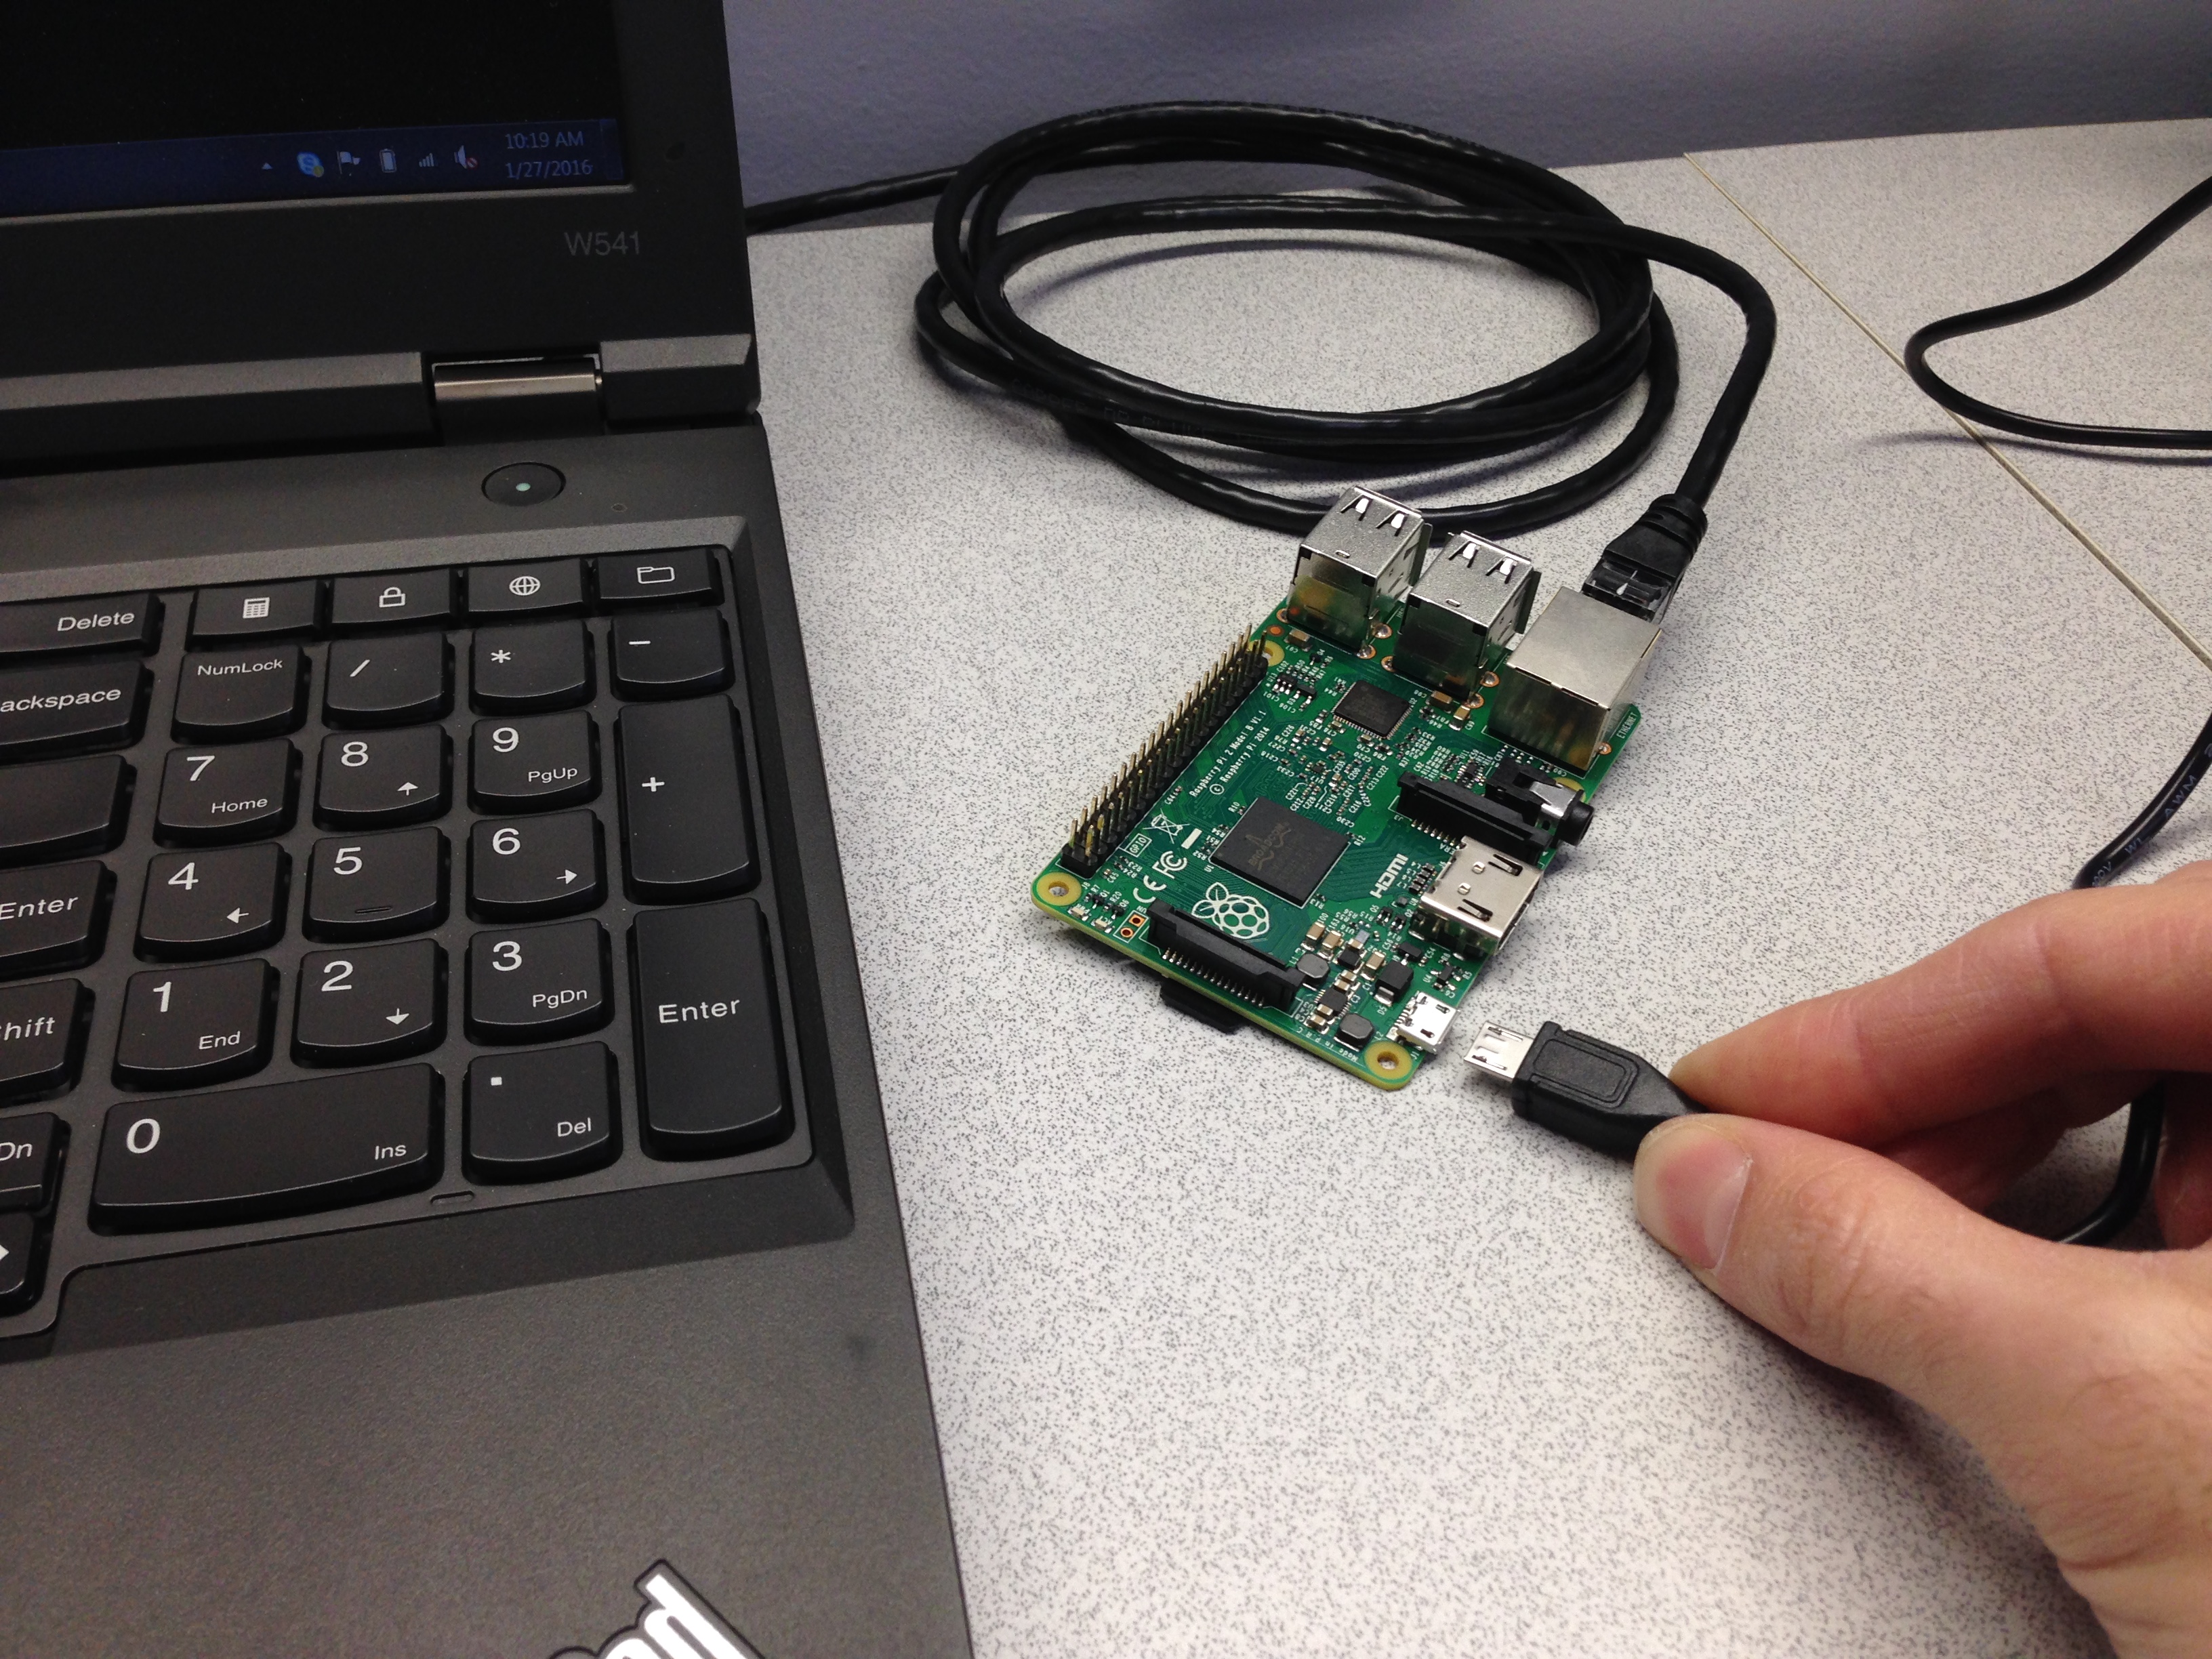
- Admire the lights on the circuit board. There should be lights in two places: on the top by the SD card and on the network port. Oooh. Pretty.
- After about 30 seconds, open up "Git Bash" or a Command prompt on your computer.
- Check if the Pi is alive using the command
ping raspberrypi.local. If you don't see something like the following, it's not connected. (Use Control-C to stop the ping test.)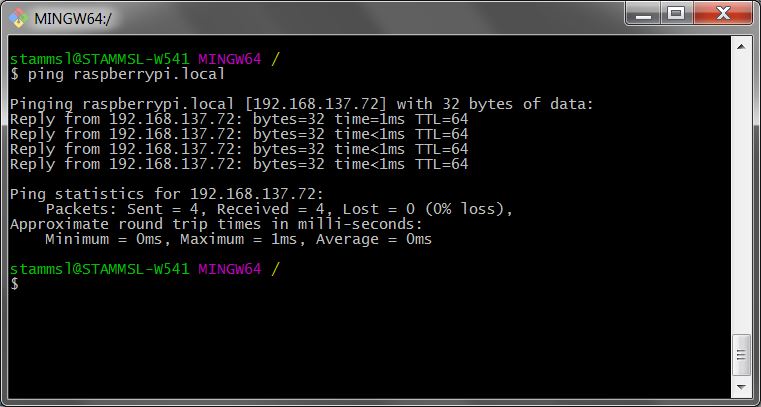
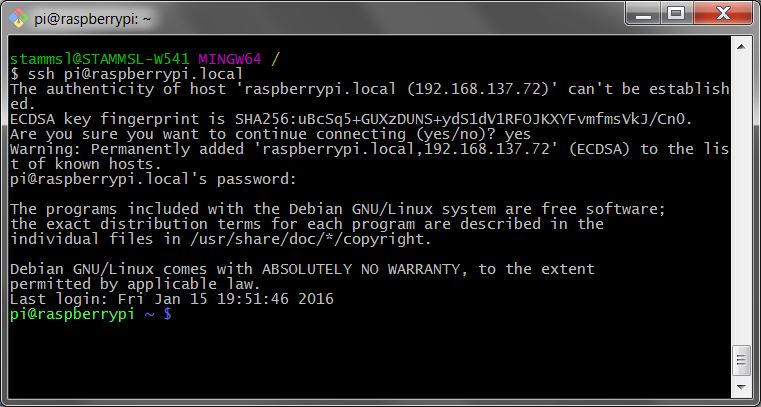
- Once you've verified the pi is alive, use SSH to connect to your pi. If you've never connected before, choose username (or login name) "pi" and the password "raspberry". Here's what it looks like in Git Bash:
Done!
Once logged into your Pi, you can use the "ping" command to test your internet connection:
pi@raspberrypi$ ping www.yahoo.com
PING fd-fp3.wg1.b.yahoo.com (98.139.183.24) 56(84) bytes of data.
64 bytes from ir2.fp.vip.bf1.yahoo.com (98.139.183.24): icmp_seq=1 ttl=50 time=34.0 ms
64 bytes from ir2.fp.vip.bf1.yahoo.com (98.139.183.24): icmp_seq=2 ttl=50 time=34.3 ms
^C
Use Control-C to stop the ping test.