Pi Setup - with Display
This is the "easy way" to set up your Pi. It is recommended to do the following in a CSSE Lab (e.g., F217) on campus, where campus WiFi and the equipment is available.
It requires the following extra equipment.
- display with HDMI cord (with a Pi 4 you need a mini-HDMI connector)
- USB mouse
- USB keyboard
After these steps are complete, you will no longer need this equipment to connect to your Pi "headless" via ssh from your laptop, as long as your Pi remains in the same wireless network.
Note that you can perform these steps off campus, with a personal wireless network, however you will need to repeat some of the steps (namely, connecting to WiFi) when you bring your Pi to campus.
Prep the Disk
Get Raspbian
The natural operating system to install on your Raspberry Pi is a distribution of Linux called "Raspbian". This software is free, but it is large, so to save bandwidth you should download from our on-campus mirror.
On your laptop, download the Raspbian Disk Image and save it on your local machine. Since it's so big, you may want to put it somewhere that is not backed up. Download this from ON CAMPUS. It will be fast and not count against your quota. (If you must download from off-campus, you can obtain Raspbian from this website).
Install the O/S
- Extract the file you downloaded (it should contain one .img file). Do NOT double-click the file.
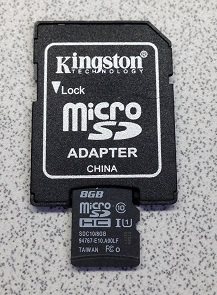
- Write the image onto your SD card.
- Insert the SD card into your laptop. Be careful not to bend the SD card or adapter.
- Obtain Etcher and install it.
- Find Etcher in your start menu and launch it.
- Select the file you downloaded in step 1 (Etcher may default to the wrong home directory, you might need to hunt for it.)
- Select the SD card you've inserted.
- Click the "Flash!" button to begin writing data to the SD card.
- Wait for the write to complete. Be patient—it will likely take 10-15 minutes.
- Insert the SD card into your laptop. Be careful not to bend the SD card or adapter.
Once the imaging is complete, eject the microSD card.
Set up the Pi for Wireless Access using Display
These steps must be done in the CSSE Lab (F217) or somewhere on campus where you have access to a display, mouse, and keyboard.
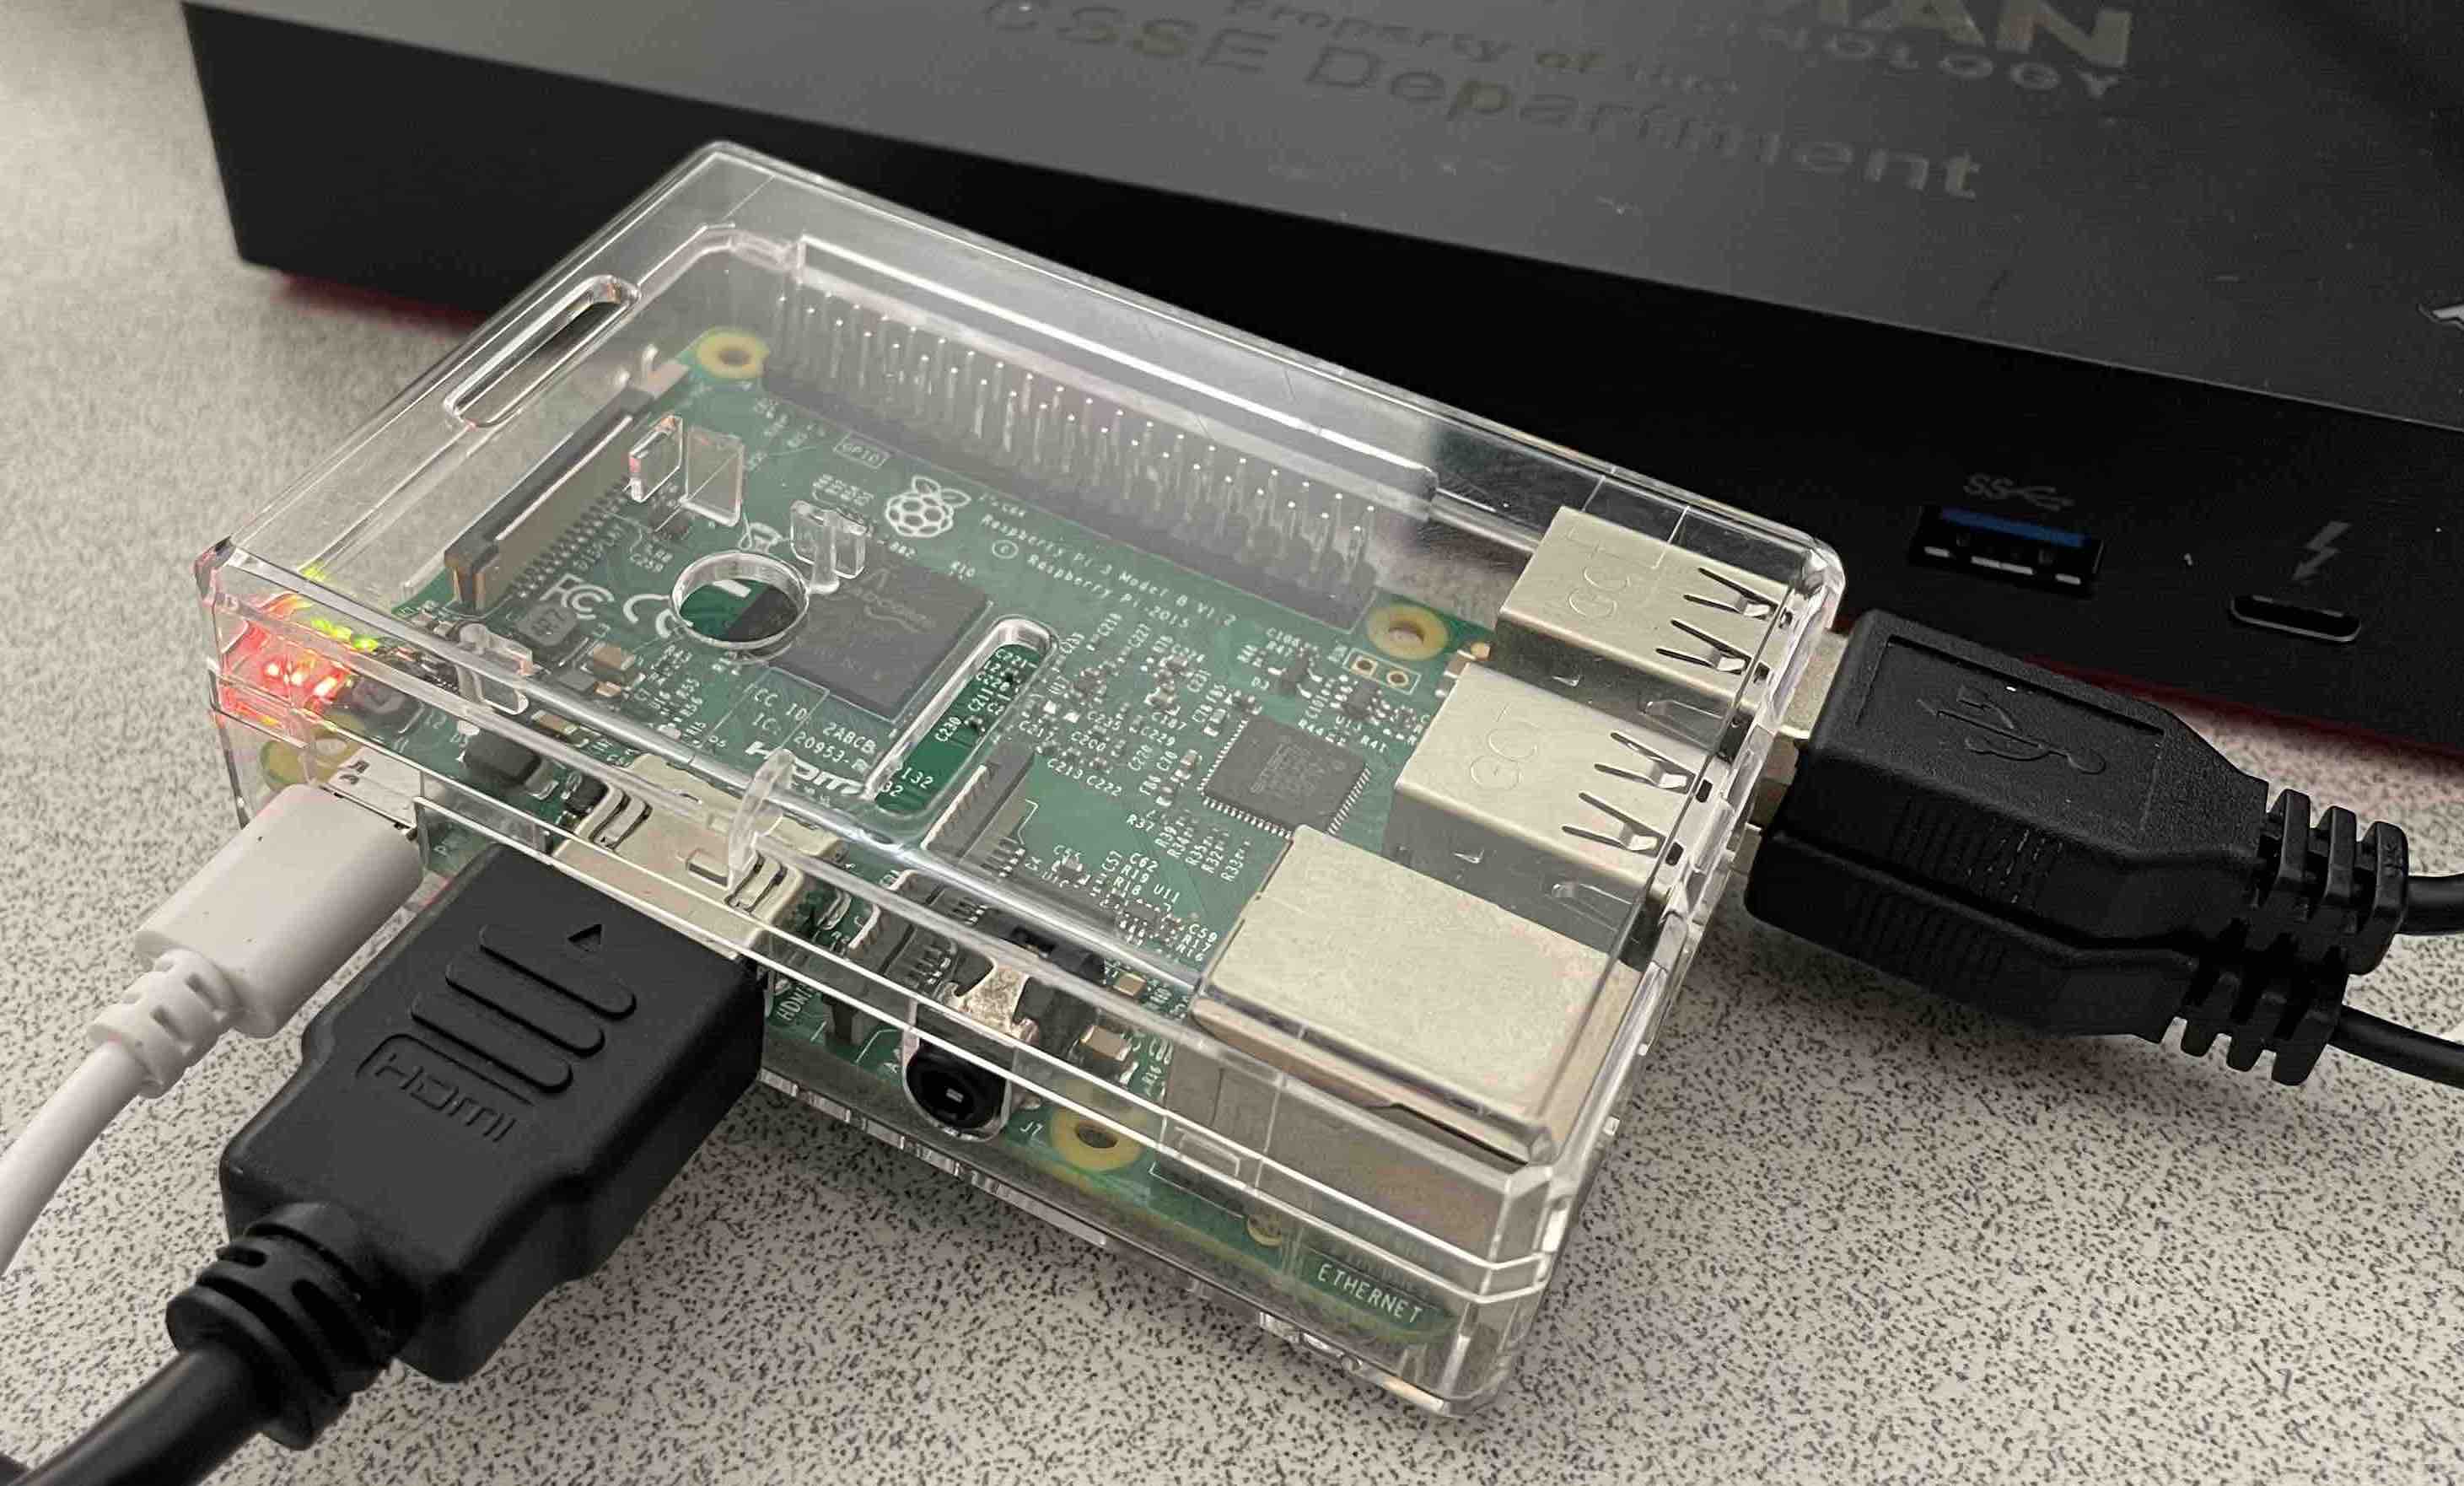
- Insert the imaged microSD into your Pi. Attach the HDMI display, USB mouse, and USB keyboard. Attach power to turn on the Pi.
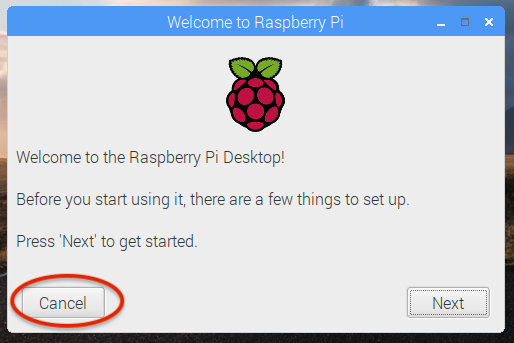
You should see the display cycle through a startup routine, ending at the Raspbian desktop. - Ignore the welcome message (you can hit cancel).
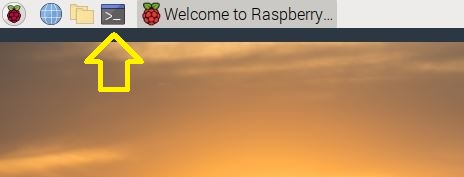
- Open a terminal.
Get MAC Address. In the terminal, type
ifconfig wlan0and hit enter, or justifconfigand look in thewlan0section. Write down the address (12 hex characters) after the wordether. This is your Pi's MAC address for the wireless (wlan0) interface.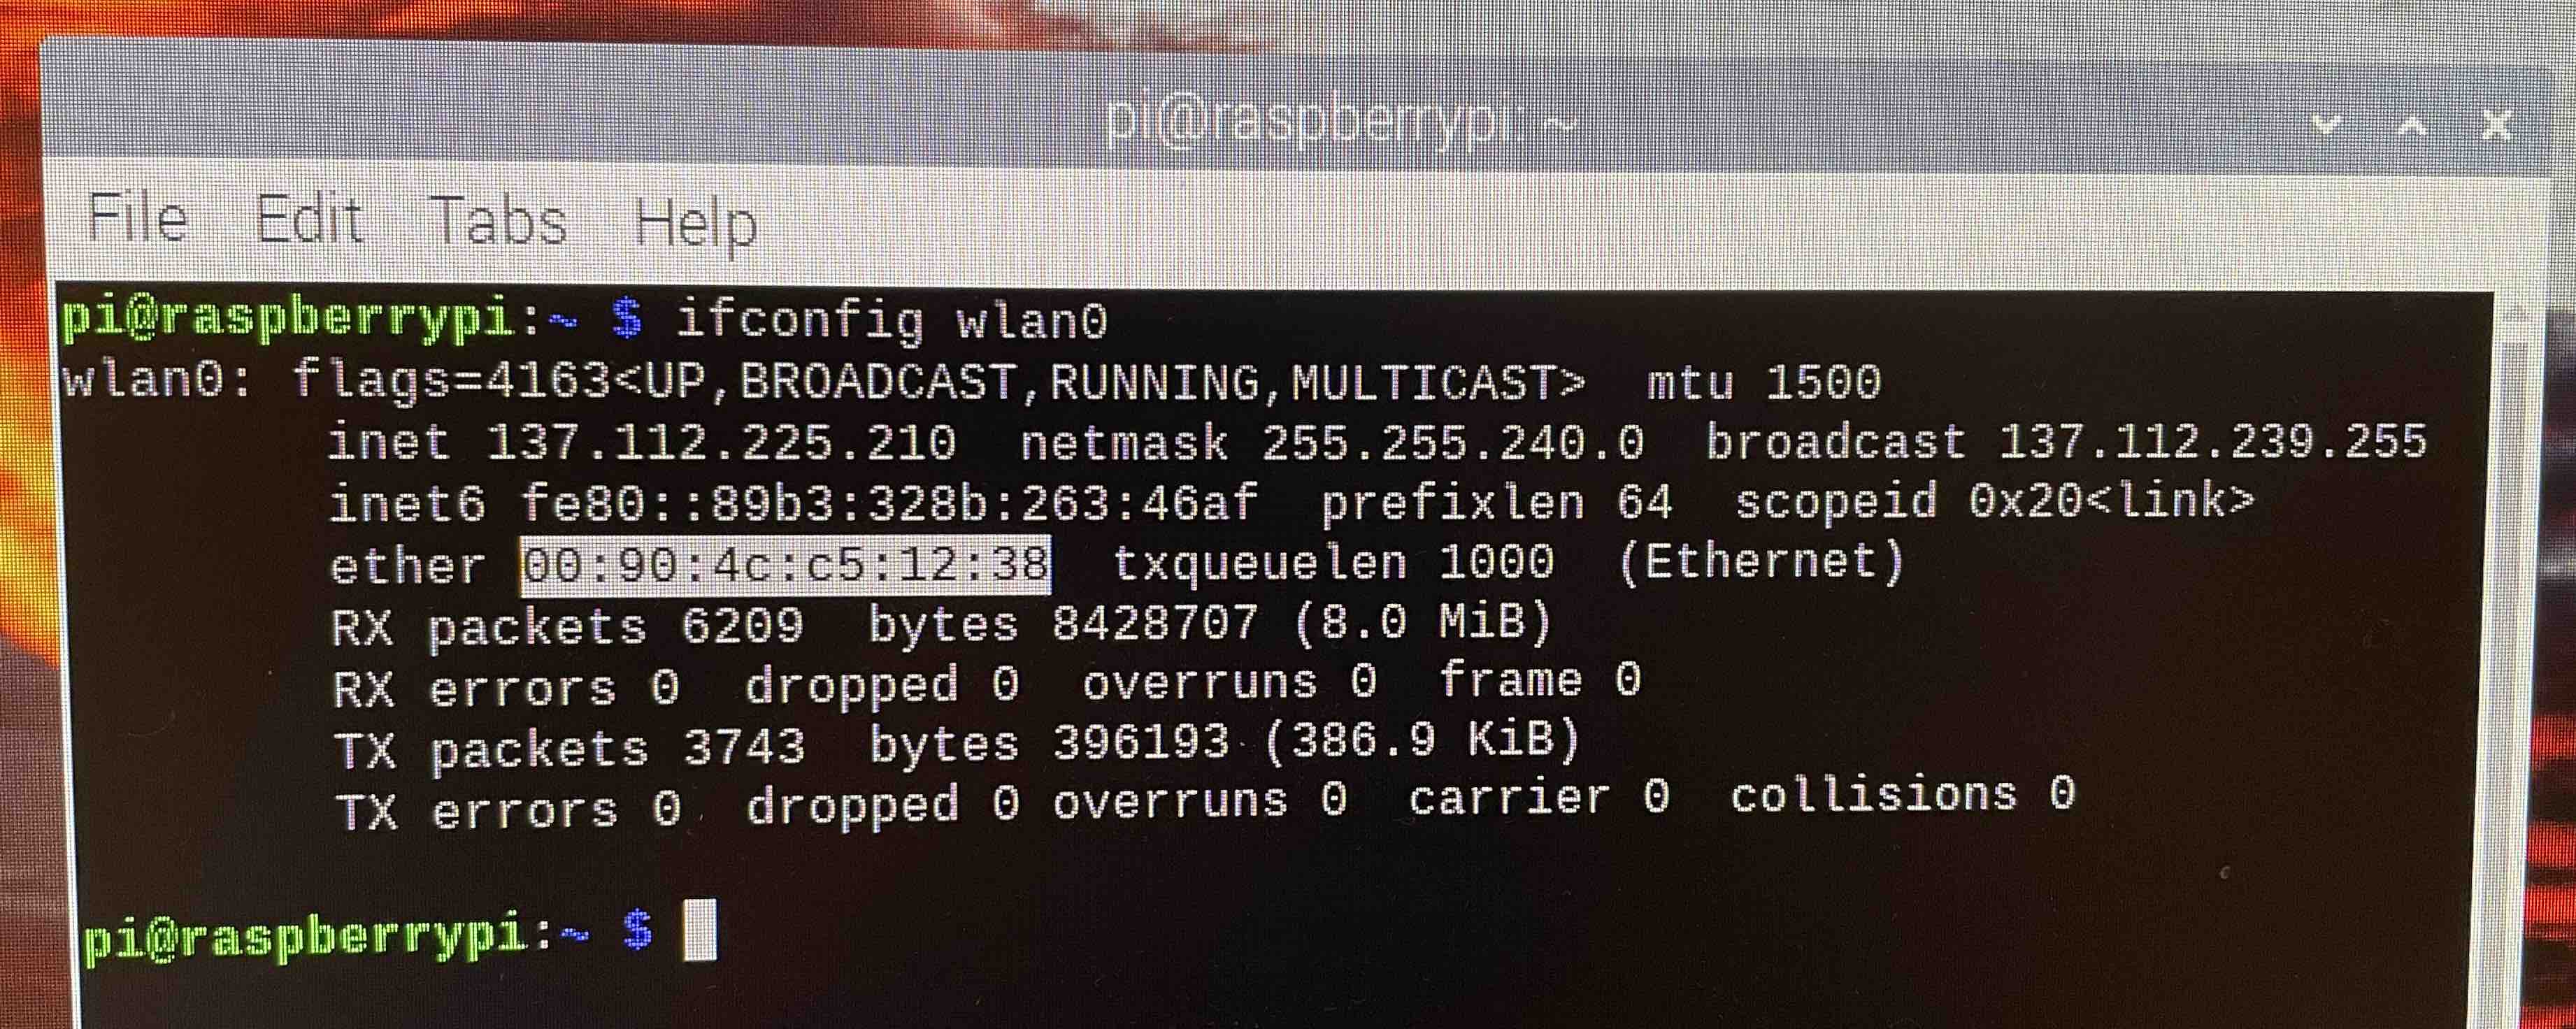
[This can also be found by runningcat /sys/class/net/wlan0/address.]Skip down to the next section, Register with EIT. Do that, then come back here. (It may take several minutes for your Pi to be registered.)
- Back in the terminal, type
sudo raspi-configto pull up the main configuration menu. (sudomeans to run with administrator privileges. If you just tryraspi-config, it will deny access.) - Enable SSH. Use the arrow keys and enter to select
3 Interface Options, thenP2 SSH, and go through the steps to turn on SSH. - Change password. Use the arrow keys and enter to select the
1 System Options, thenS3 Password. Use this to change your password for userpi, to something somewhat secure that you will remember. Note that when you type the password, it will not display on the screen. (If you mis-type, you can always hit backspace a bunch of times, and start over.) - Change hostname. Use the arrow keys and enter to select the
1 System Options, thenS4 Hostname. Change to a name of the form<rhit username>-pi. For example, if your Rose-Hulman username is chenett1, usechenett1-pi. - Set WiFi Country. Choose
5 Localisation OptionsandL4 WLAN Country. In the menu, type "U" to quickly find "US" and select it by typing enter. - Select
<Finish>. For the settings to take hold, you must allow the Pi to reboot. - After giving time for the registration with EIT to work, try to connect to the RHIT-OPEN wireless network. You can do this using the wireless menu in the right corner of the menu bar.
Once you have connected to the RHIT-OPEN wifi, you have no more need for the display, mouse, and keyboard. You should be able to power up your Pi anywhere on campus and SSH to it from anywhere else on campus.
Register with EIT
A MAC (media access control) address is a unique identifier for a network interface controller, such as found on your Pi. In order to connect your Pi to campus WiFi, you must register your Pi's MAC address with EIT.
- On your laptop, use a web browser to open https://clearpass.rose-hulman.edu/guest/guest_index.php. Log in, then select "Register New Device".
- Fill out the form: "Network Address" is 12-character MAC address. In the comment field, write a name of the form
<rhit username>-pi. For example, if your Rose-Hulman username is chenett1, usechenett1-pi. (We will set this as the pi's hostname.) - Click "Register Device".
Test
- Disconnect the peripherals and simply connect the Pi to power, anywhere on campus.
- Open Git Bash on your laptop. Check if the Pi is live using the command
ping <rhit username>-pi.wlan.rose-hulman.edu. If you don't see something like the following, it's not connected. (To make it stop, type Control-C.)

- Once you've verified the pi is live on the network, you're ready for the next step: Control the Pi.