Lab 1: Getting Set Up
In this lab, you're going to work on the following things:
- Verify you have SVN up and running.
- Get SSH working.
- Install Xilinx (if you don't already have it).
- Create a simple schematic in xilinx.
Throughout this entire lab (and this course), this web site assumes you are using the RHIT-supplied image of Windows.
1. SVN setup
First, you need to make sure you have subversion (SVN) properly set up. Your computer should come with TortoiseSVN, which you've probably used in another course.
In this part of the lab, you'll check out your course repository, create a file called itworks.txt, and commit the file into your repository's lab01 folder. If you're familiar with SVN, you can do that quickly and move on to the next section.
Here are some more detailed instructions:
First, check out your repository
- Open your documents folder and find a place where you want to store all your CSSE 132 work.
- Right-click on the background of the folder and select "SVN Checkout..." from the context menu.
Fill in the URL of repository using this URL where
joeschmoeis your RHIT username:http://svn.csse.rose-hulman.edu/repos/1516c-csse132-joeschmoe/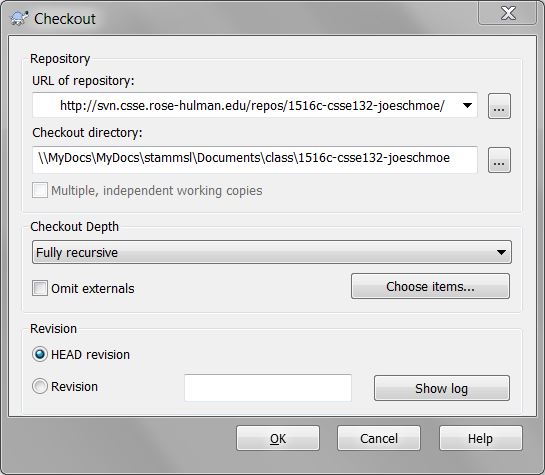
Click Ok to download your svn repository.
Every time you begin to work on the lab, right-click on this folder and choose "SVN Update" to download the latest code in your repo. Do this now.
Inside your 1516c-csse132-joeschmoe folder, you should have a few folders -- one for each lab. Open up the lab01 folder. You'll see there's already some stuff in there... for now, just ignore it.
Practice adding a file.
- In your
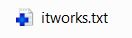
lab01folder, create a new text document by right-clicking, selecting "New" &rarrow; "Text Document". - Name the document "itworks.txt"
- Double-click it to open it in notepad. Type a short message, then save and close it.
- Right-click the file and select "Tortoise SVN" &rarrow; "Add". The file should have a little plus on it now.
In this way, you can create many files and tell SVN to watch them for changes.
Send your work to the server.
You'll do this every time you complete a lab, or want to save some work to the server.
- Right click the
lab01folder and select "SVN Commit". - In the window that pops up, enter a message to describe what you did (see example) and then click OK to commit.
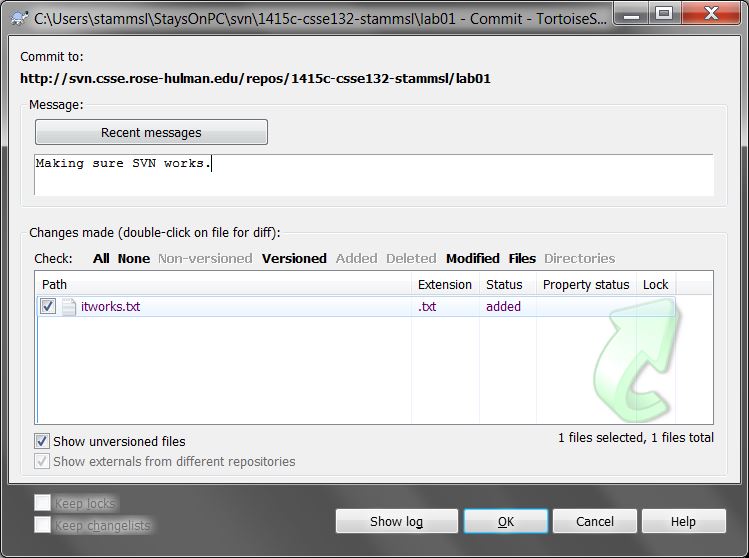
You don't have to show your instructor this part, but make sure it works because you're going to use the other code in lab01.
2. Connecting to Another Computer
Next, you will be working with a Linux (a variety of Unix) system so you need to have an SSH client installed. Example SSH clients are:
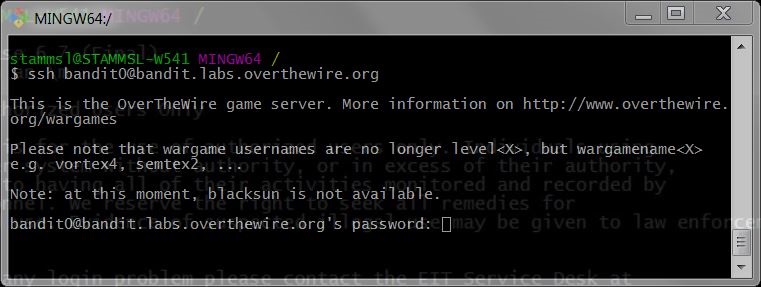
You probably already have one of these installed. We recommend using OpenSSH: for this you will need to open a terminal on your system and use the command "ssh". Here's what it looks like in "Git Bash":
In "Git Bash" or in another command line SSH client you can get help on using ssh by typing ssh and hitting enter.
Once you have chosen your SSH client, connect to the following server with the given username and password, and show your instructor that you got it to work!
 server:     bandit.labs.overthewire.org
 login name: bandit0
 password:   bandit0
Print the Instructor Verification Sheet and get checked off. Hang onto the sheet until you've finished the rest of the lab.
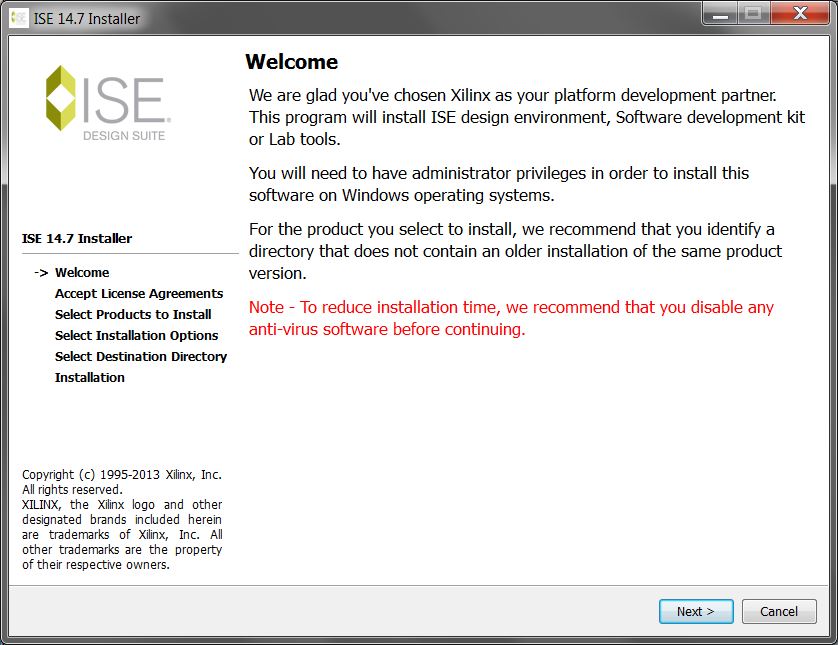
3. Xilinx Install and Test
Next, you will need to install Xilinx. Follow the instructions in Section 3 of the CSSE232 website.
Once you've got it installed, start up ISE Design Suite, and open the example project in your SVN lab01/xilinxSample directory. The project file is called mux16b8.xise. If asked, you should create a working directory. You should also migrate the project if asked.
Synthesize it
The first step in using Xilinx is to synthesize your projects. This builds a "fake hardware" module for the simulator.
- Select the
mux16b8.schin the "Hiearchy" section of the "Design" tab. - In the "Processes" section of that tab, expand "Synthesize - XST" and double-click it.
- Watch it build! The process icon should turn green when it completes. If you get unexplained errors, select "Cleanup Project Files" from the "Project" menu and try again.
Simulate it
You've got your project synthesized, now you need to see if it passes the tests that came with it. This will check to make sure it works as expected.
- Select "Simulation" at the top of the "Design" tab.
- Make sure the drop-down right under the view selector is set to "Behavioral".
- Double-click on
mux16b_tb_0.vin the "Hierarchy" section of the tab, and examine the file that comes up. There's a bunch of stuff in here that's probably new, don't worry, we'll get to this next week. - In the "Processes" section of the "Design" tab, expand the "ISim Simulator" entry and double-click "Simulate Behavioral Model". This will launch ISim.
- In the ISim window, zoom "To Full View" (in the view/zoom menu).
- Admire the waveforms. Ooh. Pretty.
That's it. You're done in Xilinx if you got this working. Now is a great time to print off the Instructor Verification Sheet and get checked off. Submit this form in hard copy.
Finishing This Lab
When you're done with this lab, submit the instructor verification sheet in hard copy. Your instructor will want to see Xilinx working and will want to see you use SSH.