CSSE 220: Object-Oriented Software Development
SwingDemo, Part 1

You will do this exercise by yourself, but be quick to ask questions of your instructor, student assistants and classmates as desired.

Goals

This exercise will let you:

  • Explore how to create a basic Graphical User Interface (GUI).
  • Learn to avoid some of the pitfalls in GUI creation.
  • Learn how to draw on a JComponent using a Graphics2D object .
  • Improve your skill at using an Application Programming Interface (API), in particular, the Swing API.

In Part 2 of this exercise (to be done later in the term), you will continue the above and additionally:

  • Investigate some useful types of JComponents like JLabel, JPanel and JButton.
  • Discover how to use a LayoutManager to add components to containers.
  • See how Event-Driven Programming works.

Grading rubric

You start with 50 points. For each stage that is missing or implemented incorrectly, you lose 10 points.

  • So if you do nothing, your score is negative!
  • This grading scale is chosen to make sure you do ALL of this very useful project.

Because this is an exploratory exercise, no documentation is required, and magic numbers are OK.

  • However, you should use good style, as usual, and your grade may be reduced if you do not do so.
  • Control-shift-F is helpful to format the file you are working on!

Overview

You will implement this project in stages, testing at each stage to see if the project works correctly through that stage.

  1. Read the stages of the iterative enhancement plan (i.e., the subheadings of the next section).

Implement the project

Implement according to the following Iterative Enhancement Plan (IEP):

Stage 1. The empty 300 x 400 frame appears and the (so far empty) 400 x 600 frame appears

  1. Open Eclipse.
  2. From your individual repository, checkout the Java project called IntroToJavaGraphics
    • Use the SVN Repositories view to check out this project.

  3. Examine and run the EmptyFrameViewer class.
    • Its code appears to the right.
    • It is about the simplest graphics example that we could supply — a frame with nothing in it.
  4. Create a new class called MyFrameViewer with the usual main method.
    • As usual, let Eclipse type a stub for main for you.
  5. In main, declare and construct a new JFrame().

    • As usual, use Quick Fix to insert the required import statement.
  6. Set the JFrame's:
    • size to 400 wide by 600 tall
    • title to something whimsical (perhaps I've been framed!)
    • default close operation causes the application to exit when the frame is closed
  7. Make your constructed JFrame visible.
  8. Run your application, if you have not already done so.
    • It should look like the picture below.
  9. Commit your work.
    • As usual, continue to do frequent commits throughout this project.
Java code that displays an empty frame

Test your understanding: Answer these questions on the self test that accompanies this exercise.

  • The self test will become a “cheat sheet” for you to use until these concepts become second-nature to you.
  • Be quick to discuss these questions with your instructor, a student assistant or a classmate if you are unsure of your answer.

  1. To make a frame appear in Java, you construct a _______ and apply the _____ method to it.
  2. What method sets the size of a JFrame? (Duh!) _______
Stage 1: Frame appears

Stage 2. A rectangle appears on the frame (drawn onto a JComponent that is added to the JFrame)

You don't normally draw directly onto a JFrame. Instead, you:

  • Implement a class that extends JComponent (or a special type of JComponent like JLabel, JPanel or JButton).
  • Construct an instance of your class and add that instance to your JFrame.
  • Override the paintComponent(Graphics) method of your class that extends JComponent, putting the drawing statements in your method that overrides paintComponent.
Here's the details:

  1. Create a class called MyComponent that extends JComponent.
    • Follow these instructions step-by-step, but for your reference, the code for MyComponent per this stage appears in a box to the right.
    • A JComponent is a Swing object that you can add to a Swing Container and draw upon.
    • As usual, use Quick Fix to insert the required import statement.
    • Your MyComponent class extends JComponent, which means that it inherits all the functionality of a JComponent. You will (in the next steps) augment that functionality with your own drawing commands.
      • This concept is called inheritance. Much more on it in forthcoming weeks!
  2. In main, construct an instance of MyComponent and ask your frame object to add the instance, like this:
        MyComponent component = new MyComponent();
        frame.add(component);
    
  3. Override the paintComponent(Graphics) method that MyComponent inherits from JComponent, as follows:

    1. With the cursor in your MyComponent class, select:
      Source → Override/Implement Methods ...
      and check the paintComponent(Graphics) box.
    2. Note that Eclipse typed for you this stub:
          @Override
          protected void paintComponent(Graphics graphics) {
              super.paintComponent(graphics);
              // TODO Replace this auto-generated method stub by working code.
          }
      
      • Eclipse may have chosen its own name for the parameter. I have chosen graphics as the parameter name.
      • The first statement in paintComponent calls the superclass' paintComponent method, that is, JComponent's paintComponent method. Hence, we are augmenting what a JComponent's paintComponent does, rather than replacing what a JComponent's paintComponent does.
    3. Replace the above TODO statement with a statement that casts the Graphics object that we called graphics into what it really is: a Graphics2D object. That is, add the following statement:
              Graphics2D graphics2 = (Graphics2D) graphics;
      
      • All the drawing commands will use this more powerful graphics2 object, not the original graphics object.
    4. After the above statement, construct a Rectangle called (say) box at (10, 20) with width 30 and height 40, like this:
              Rectangle box = new Rectangle(10, 20, 30, 40);
      
    5. Finally, after the above statement, ask the graphics2 object to draw the box, like this:
              graphics2.draw(box);
      
    6. Run your application, if you have not already done so.
      • It should look like the picture below.
      • If it doesn't, get help now as needed.
Java code that adds a MyComponent to a JFrame
Java code that displays a Rectangle

Test your understanding: Answer these questions on the self test that accompanies this exercise.

  • The self test will become a “cheat sheet” for you to use until these concepts become second-nature to you.
  • Be quick to discuss these questions with your instructor, a student assistant or a classmate if you are unsure of your answer.

  1. What class do you extend if you want to draw on your class? ____________________
  2. What method do you override to do your drawing? ____________________________
  3. What must you do in the first line of that method? _____________________________
  4. The Graphics object that paintComponent is given is in fact a Graphics2D object. Write the statement that casts the Graphics object called graphics into a Graphics2D object.
  5. What class has a method for drawing Shape objects like Rectangle? _____________________
  6. What method draws a Shape (like a Rectangle)? (Duh!) ________________________
  7. How does that method know what to draw? ________________________
Stage 2: Rectangle appears on the frame

Stage 3. Many rectangles appear on the frame (drawn onto a JComponent that is added to the JFrame)

  1. Use a loop to draw 37 squares such that:
    • They each have upper-left corner (10, 10).
    • The first one has width and height 10, the second one has width and height 20, the third one has width and height 30, and so forth.

    Your project should look like the picture to the right.

    • It need not be exactly like the picture, but it should have lots of squares and look cool.
    • Keep your rectangle from the previous stage. That's what makes the funny-looking stuff in the upper-left corner of the picture to the right.

  2. After getting your loop to draw 37 squares, modify your loop so that it displays as many squares as are needed to “fill up” the width of the component.
    • If the application is resized by the user, the number of squares displayed should change to reflect the resize!
    • The pictures to the right and below show some examples.
    • As the pictures suggest, try to leave a little blank space on the left and right edges of the frame, so that we can see where your squares begin and end.
    • As in the preceding step, your display need not look exactly like the pictures, but when the application is resized the number of squares should change.
    • This step will take some detective work on your part. Here are some hints:
      • What object do you want to get information from, to draw the right number of squares? What information do you want from that object?
      • What 4-letter word do you use to refer to the implicit parameter, when you are implementing a class?
      • To find out what an object can do, type the object's name followed by a dot, then pause and see what Eclipse shows you!
      • Many methods that allow you to “get” information begin with the prefix get. (They are called getters.)

      If you don't see how to do this part of the exercise in 5 minutes or so, ask an assistant or your instructor for help. (It's OK to continue the exercise while you are waiting for that help.)

Stage 3: Many rectangles appears on the frame
Stage 3: Many rectangles appears on the frame Stage 3: Many rectangles appears on the frame

Stage 4. Other shapes — ellipses and lines — appear on the frame

For this stage, you will want to examine the Java documentation on the following classes:

  1. Draw the following objects below your squares:
    • An ellipse that is not a circle
    • A circle
    • A line that is constructed by giving four numbers (the first two for its beginning point, the next two for its end point)
    • A line that is constructed by giving two Point2D.Double objects

    These can appear anywhere you want, as long as they are below your squares and readily visible. The picture to the right shows an example of what your project might look like after you complete this stage.

Test your understanding: Answer these questions on the self test that accompanies this exercise.

  • Some of the questions below are hard. Don't hesitate to ask questions!

  1. Write statement(s) that construct and draw a rectangle whose upper-left corner is at (80, 50) and whose width and height are 200 and 100, respectively.
  2. Write statement(s) that construct and draw an ellipse whose center is at (40, 100) and whose width and height are 10 and 30, respectively.
  3. Write a single statement that draws a line from (100, 300) to (150, 400).
    • Hint: You don't have to declare the Line2D.Double object, just construct and use it!
  4. If you have an Ellipse2D.Double object called (say) ellipse1, there are two ways to get its width. What are those two ways?
  5. Is a Line2D.Double object mutable?
  6. Why do you think that the designers of the Point2D.Double class chose to make Point2D.Double's mutable?
  7. A Point2D.Double is a Point2D built from two double's, as the name suggests. What is the name of the class for a Point2D built from two float's? _____________________ A Point2D build from two int's? __________________________ (Hint: the latter is NOT Point2D.Int, alas. Examine the Point2D class.)
Stage 4: Ellipses and lines appears on the frame

Stage 5. Text appears on the frame

For this stage, you will want to examine the Java documentation on the following methods:

Doing

    Font font = new Font("Times New Roman", Font.PLAIN, 72);
    graphics2.setFont(font);
will set the font for graphics2 to Times New Roman, plain, font size 72. That font stays in effect for all drawing operations on graphics2 until you do another setFont on graphics2.

  1. Draw two lines of text, one directly above the other, somewhere below your squares. Make them different sizes and make one of the italic.
    • Anywhere below your squares is fine, as long as they are readily visible and one line is directly above the other. See an example to the right.

Test your understanding: Answer these questions on the self test that accompanies this exercise.

  1. So far in this exercise, you have used two methods of the Graphics2D class and one of the Graphics class. What are the names of those three methods?
  2. List the names of several methods in the Graphics or Graphics2D classes that you would like to learn more about before this course is over.
Stage 5: Strings appears on the frame

Stage 6. Colorful objects appear on the screen

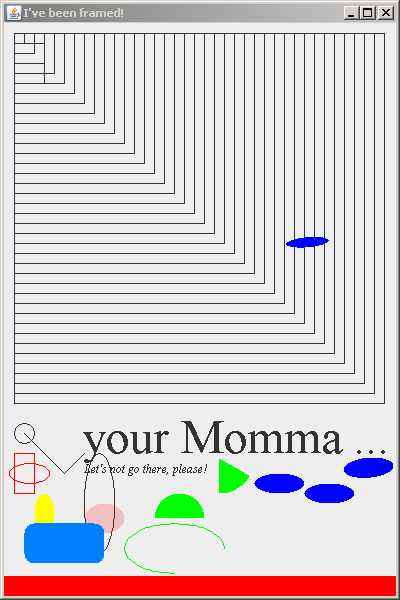
Colors are easy: just ask the Graphics object to set the color, and then that color is used for that Graphics object until you tell it otherwise. For example:

    graphics2.setColor(Color.red);
    graphics2.draw(new Rectangle(10, 430, 20, 40));
    graphics2.draw(new Ellipse2D.Double(5, 440, 40, 20));

    graphics2.setColor(new Color(0, 128, 255));
    graphics2.fill(new Ellipse2D.Double(30, 470, 20, 40));

    graphics2.setColor(new Color(255, 0, 0, 50));
    graphics2.fill(new Ellipse2D.Double(80, 480, 40, 30));
Note how I used:

  • The pre-defined color Color.red for drawing the first two objects above
  • A color constructor for drawing the third object: the constructor specifies the amount of red, green and blue, respectively, in the Color, where each parameter ranges between 0 (none of that color) to 255 (all of that color).
  • For drawing the fourth object, a color constructor that takes four parameters — the fourth parameter is the degree of transparancy; try it to see what it does!
  • The fill method — try it to see what it does!

  1. Draw a few more objects, of any sort you wish, using colors.
    • Use at least one pre-defined Color and at least one constructed Color.
    • Make at least some of your new objects be filled instead of drawn.
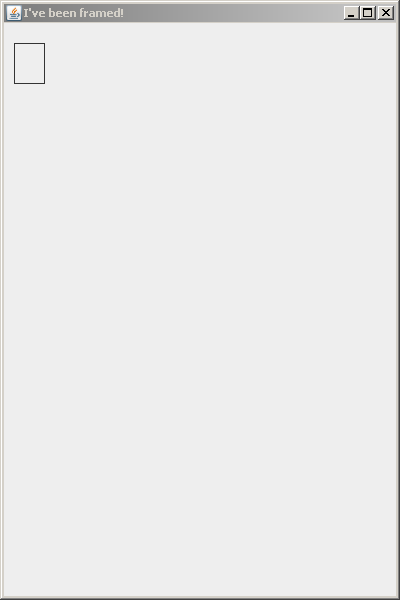
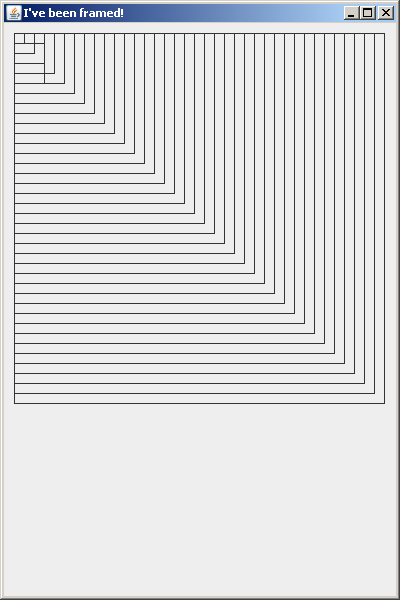
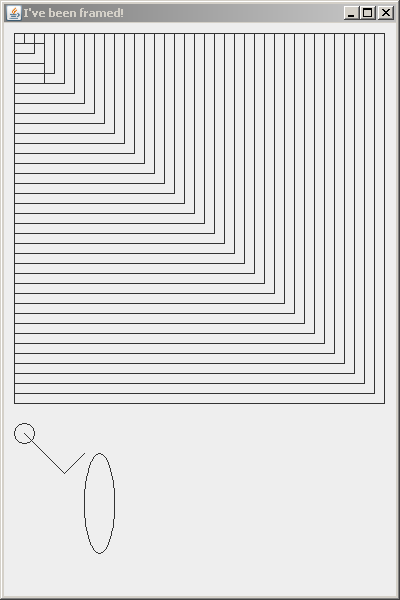
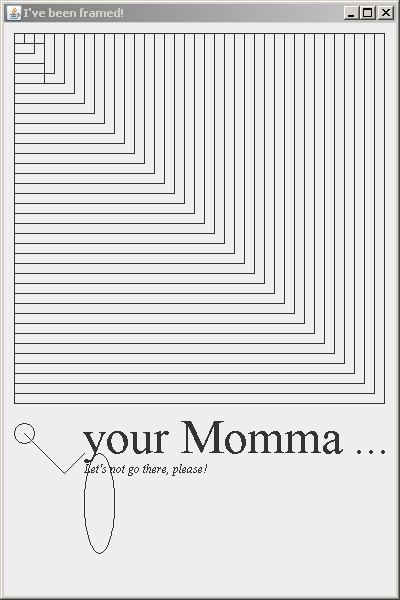
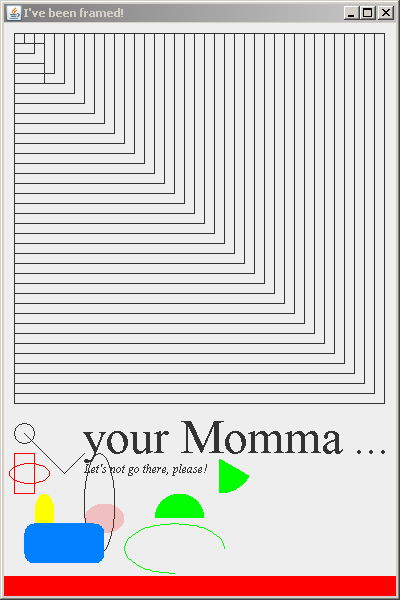
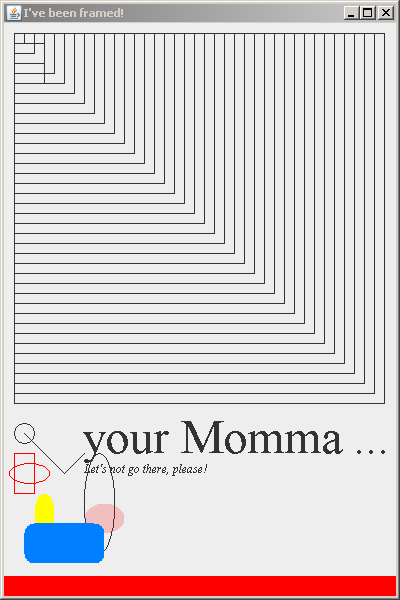
    • The picture to the right shows some examples — but yours can be with whatever shapes and colors you want, subject to the above restrictions.
  2. Draw a filled rounded rectangle, like the blue one shown in the picture to the right.
    • It can appear anywhere you want, of any size you want, as long as it is readily visible and clearly “rounded”.
    • I'm purposely not telling you how to draw a rounded rectangle — do some detective work! (But not more than a few minutes worth; ask questions as needed.)
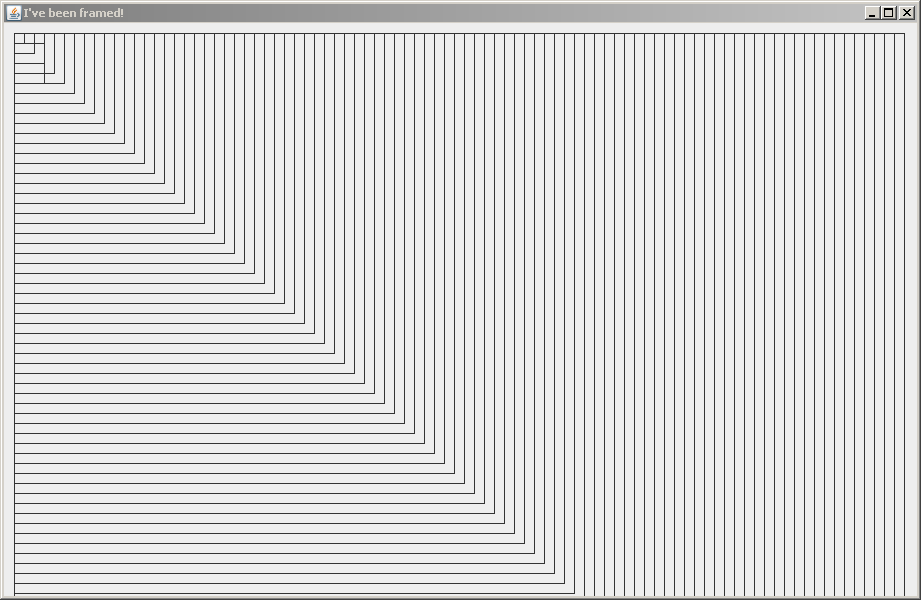
  3. Draw a filled red rectangle that is at the very bottom of the window. It can have whatever (reasonably visible) height you want, but its width should be the width of the JComponent that you are drawing on.
    • So if the user resizes the window, the red rectangle should grow or shrink per the resize, and it should “stick” to the bottom of the window.

Test your understanding: Answer these questions on the self test that accompanies this exercise.

  1. Write a statement that sets the color of the Graphics object named g to the predefined color cyan.
  2. Write a statement that sets the color of the Graphics object named g to half red and half green and no blue.
  3. True or false: once you use setColor to set the color for a Graphics object, all subsequent drawing and filling on that Graphics object will be in that color, unless you do another setColor on that Graphics object.
  4. What is the name of the class you use to draw rounded rectangles?
Stage 6: Colors appears on the frame

Stage 7. Arcs appear on the screen

For this stage, you will want to examine the Java documentation on the Arc2D.Double class. But briefly:

  • An Arc2D.Double is constructed as part of a circle.
  • The first two arguments to Arc2D.Double's constructor are the upper-left corner of the bounding box (NOT the center) of the arc's circle.
  • The next two arguments are the width and height (NOT diameter, NOT radius) of the bounding box of the arc's circle.
  • The next argument is the degrees (NOT radians) to travel along the arc's circle to get to the beginning point of the arc.
  • The next argument is the degrees to continue along the arc's circle to get to the ending point of the arc.
  • The last argument is the way to “polish off” the arc, for example to draw an Arc2D.CHORD.

  1. Draw the following using Arc2D.Double objects (see the picture to the right for examples, drawn in green):
    • A closed semi-circle
    • An open three-quarters of a wide ellipse
    • A closed 30 degree wedge from a circle
Stage 7: Arcs appears on the frame

Stage 8. Translating, Rotating and Resizing

A Graphics2D object can be translated, rotated and resized. Doing so applies the transformation to all the objects drawn thereafter on the Graphics2D object.

The picture to the right shows a blue ellipse drawn 4 times, per this code:

    // Draw an ellipse, then translate, rotate and resize it, drawing it
    // after each transformation.
    graphics.setColor(Color.blue);
    Ellipse2D.Double transformMe = new Ellipse2D.Double(250, 450, 50, 20);
    graphics2.fill(transformMe);

    graphics2.translate(50, 10);
    graphics2.fill(transformMe);

    graphics2.rotate(-5 * Math.PI / 180);
    graphics2.fill(transformMe);

    graphics2.scale(.85, 0.5);
    graphics2.fill(transformMe);

  1. Experiment briefly with these transformations, in any way that you like.
    • Be quick to ask questions if your transformed objects don't behave as you expected them to.
    • When you are done with this step, you can comment-out this part of your code if you wish. If you choose to leave in your transformations:
      • Please be sure that we can still see your results from the previous stages, along the lines of the picture to the right.
      • Don't forget to apply “reversing” transformations to graphics2 before any code you write for the next step.
  2. This last item is optional — do it only if you are having fun with these graphics commands.

    Use Arc2D.Double to fill a color wheel similar to the one shown in the bottom-right corner of the picture to the right.

    • Or, make all those squares different colors.
    • Or ... (the sky's the limit!)

Stage 8: Transformations appears on the frame

Stage 9. Turn in your work

Commit your project to your individual repository when you are done.